*Please enable “Menu / Edit / Preferences / Scripting & Expressions / Allow scripts to write file and access network” for activation.
Summary
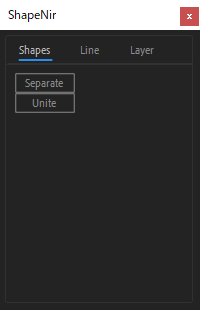
This feature is the same as that of “Cuttana”.
Select all shapes and click on “Separate”
to split the layers of each path.
*ShapeNir animation cannot be created from shape layer that have more than one path.
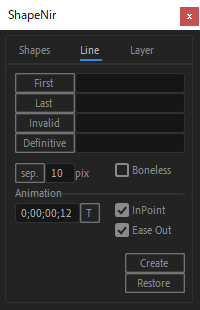
Switch to “Line”.
Select one or two starting points and
click on “First” to get the index for each point.
Select the end point in the same way and click on “Last”,
and click on “Create”.
Now the animation is complete!
Work on other letters as well.
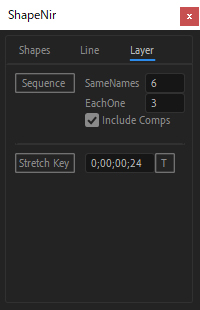
Switch to “Layer”
and select the layers.
Enter frames for each letter in “Same Name”
and frames for each stroke in “Each One”.
Click on “Sequence”, and the sequence is complete.
Details
- “Unite” in the shapes tab will unite the layers that were separated by “Separate”.
- The two buttons in the Shape tab will also work when each letter shape is in each composition.
- If the start point or the end point overlaps with other points and cannot be selected, select the four overlapping points and click on “Sep. “ to separate the four points. The paths” _Guide” and “_Original” have been created, and the Guide can be selected to create the animation.
- When creating an animation, a bone is created to adjust the curve speed. You can use “Invalid” to specify points that will not be taken into account when creating the bone.
- On the other hand, “Definitive” always specifies the points that will be used to create the bone. The points defined in “Definitive” take precedence.
- In the TC (Time Code) field, you can decide the length of time for the animation.
- When “InPoint” is unchecked, the animation will start from the indicator.
- If “Ease out” is unchecked, the keyframe will be linear.
- “Restore” will delete the animation you created and restore the layer to its original state if possible.
- Decide the length in the TC field of the Layer tab, click on “Stretch Key” to change the length of the keyframe you created.
- When each letter is in each composition, if “Include Comps” is checked, “Sequence” is available! (Stretch Key is also available without being checked)
Verified fonts
Source Han Sans Regular
Futura PT Medium